A comfortable toilet seat is one of life’s small pleasures and replacing an uncomfortable or broken toilet seat with one a little more to your taste can be a simple task. Read on for a step by step guide to replacing a toilet seat.
Selecting A New Toilet Set
The first step is to buy a toilet seat that suits your toilet bowl shape. Most toilets are oval, but some modern ones are more elongated or even rectangular, so it can be a good idea to use a tape measure to determine the size of your toilet before you head to the store or browse online to make sure you get one that fits both the size and style you want.
Modern toilet seats come with more features and options than ever before. Soft closing seats are easy to use and prevent any loud noises when lowering the seat.
If technology is more your thing, you can get toilet seats now that automatically close when their sensors detect that the toilet is no longer being used. These can both lower the incidence of family arguments if someone forgets to lower the seat and increase cleanliness as it ensures the seat is always down before the toilet is flushed.
Double seats are ideal for families with small children, as they feature two toilet seats, one standard size for adults and a smaller one nestled inside for children. The smaller seats are designed to detach for easy cleaning and can make toilet training the youngest members of your family a breeze.
Material is another option, with the traditional heaviness of wood often being replaced with lightweight plastic.
The last feature to think about is colour. While white or cream are traditional, there is nothing wrong with matching your bathroom or powder room aesthetic with a matching or contrasting toilet seat. With coloured toilets themselves becoming more popular, it can be a sensible design choice to match your toilet seat to your toilet colour for a seamless look.
Once you have done your research and made your purchase, it’s time to install the toilet seat.
Removing The Old Seat
Toilet seats are generally attached to the toilet with two bolts which can be hidden under plastic caps at the back of the seat. Use a flat-head screwdriver or other similar tool to pry off any plastic caps that cover the head of the bolts.
Once the plastic caps are removed you should be able to see the wing nuts that hold the screws in place. Depending on the age of the toilet seat, you can either use pliers to loosen the nuts or you may be able to twist them off and remove the nut by hand.
If your toilet seat is very old, it may use regular nuts instead of wing nuts. In this case, use an adjustable wrench to carefully loosen and remove.
The worst-case scenario is nuts that are rusted on. If you can see rusted or recessed nuts, a small hacksaw can be used to carefully saw through the bolts, just be extra vigilant to not chip or break the toilet itself.
However you remove the bolts holding your old seat to the toilet, you should now be able to remove the seat. It is a good time to give the toilet a thorough scrubbing in those areas that are hard to reach around where the toilet seat was connected to the toilet.
Attach The New Toilet Seat
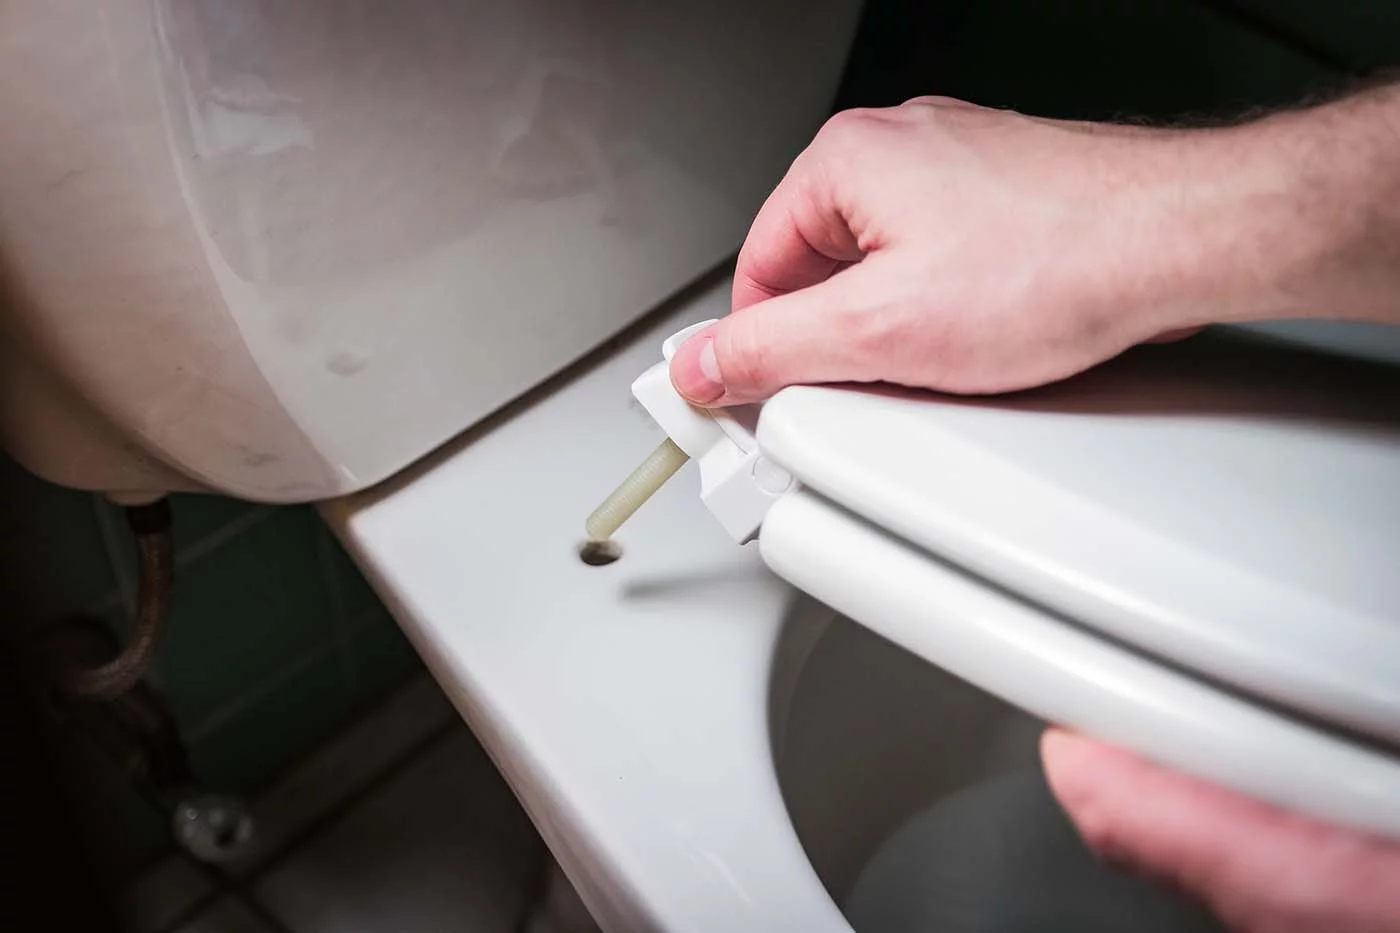
Once you are ready, you can attach the new seat to your toilet. They usually come with new nets and bolts, but if they do not, a trip to the hardware store may be needed to ensure you have the correct size of bolt.
Carefully line up the bolt holes in the seat with the holes in the toilet bowl, insert the bolts and partially tighten. Before fully tightening, check the alignment of your seat hinges to ensure they are centered on the toilet. Now tighten the nuts fully, but be careful not to over-tighten as you will one day be replacing this seat and you don’t want to make it too difficult for your future self.
Check the lid and seat don’t wobble and adjust if needed, and you now have a new toilet seat which should provide comfort and sanitation for years to come.


